1.일단 시작하는 웹서비스
기존 RDBMS가 일관성 모델 때문에 가질 수 없었던 확장성, 유연성, 고성능, 고기능성을 확보하기 위해
noSQL을 사용하기로 결정
2. 페이지가 수행해야 하는 Missons
우선 뭘 해야하고, 그걸 위해 무엇이 필요한지 생각해볼 필요가 있다. 이는 창조행위가 가져야할 응당한 자세이다.
무얼 해야할까?
-가입페이지 보여주기
-가입페이지에 정보를 입력하면 서버로 가져와 유저 정보에 저장
3. 일단 만들어보자
register.html (일부)
<form class="user" method="POST">
	<div class="form-group">
		<input type="text" class="form-control form-control-user" id="user_id" name="user_id" placeholder="아이디">
	</div>
	<div class="form-group">
		<input type="email" class="form-control form-control-user" id="email" name="email" placeholder="이메일 주소">
	</div>
	<div class="form-group row">
		<div class="col-sm-6 mb-3 mb-sm-0">
			<input type="password" class="form-control form-control-user" id="user_pw" name="user_pw" placeholder="비밀번호(10자리 이상)">
	</div>
		<div class="col-sm-6">
			<input type="password" class="form-control form-control-user" id="user_pw2" name="user_pw2" placeholder="비밀번호 확인">
		</div>
	</div>
	<button type ='submit' class="btn btn-primary btn-user btn-block">
	회원가입
    </button>
</form>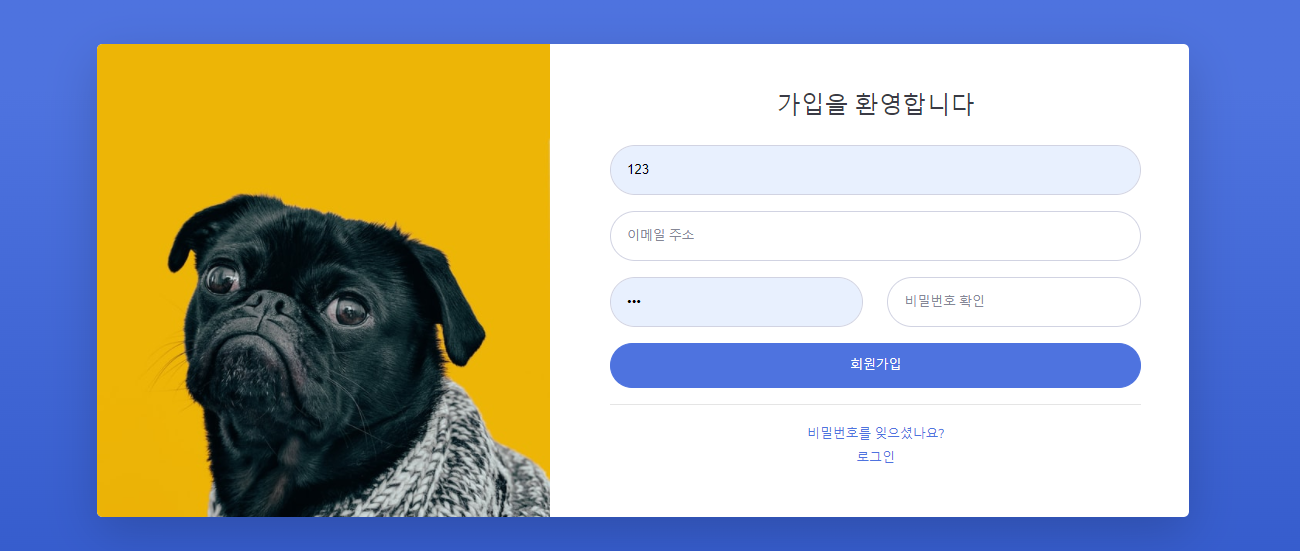
bootstrap은 참 좋은 친구다. 12구역에 대한 이해만 있으면 내 입맛대로 커스텀하는건 식은죽 먹기이기 때문.
이에 대한 설명은 나중에 해보도록 하고, 아무튼 위처럼 가입정보를 받아오도록 했다.
flask의 request.form모듈이 꼭 태그속 name값에 맞는 것만 가져 올 수 있는건 아니지만, 앞으로 만들어질 페이지의 통일성을 위해 앞으로 계속 name을 통해 가져 오도록 한다.
app.py:
from flask import Flask, request, render_template, session, redirect, flash, jsonify, url_for
import pymongo
import hashlib

client = pymongo.MongoClient("localhost",27017)#mongoDB연결
db = client.get_database("test")#db연결
user = db.get_collection("user")#collection연결


@app.route('/register/', methods=['GET','POST'])
def register():
    if request.method == 'GET':
        return render_template('register.html') #metode가 GET이면 가입템플릿으로 넘김
    else:
        user_id = request.form.get('user_id')
        user_pw = request.form.get('user_pw')
        user_pw2 = request.form.get('user_pw2')
        email = request.form.get('email')
        if user_pw != user_pw2: #확인 비밀번호 일치하는지 확인
            flash("비밀번호가 일치하지 않습니다")
            return redirect(url_for("register"))
        else:
            pw_hash = hashlib.sha256(user_pw.encode('utf-8')).hexdigest()#비밀번호 hash로 저장
            user.insert_one({'user_id':user_id, 'user_pw': pw_hash, 'email': email, "point": 0})#회원 초기 데이터 저장
            flash("정상적으로 가입되었습니다.")
            return redirect(url_for("login"))#완료후 로그인페이지로 넘김
이해에 필요한 코드만 챙겨왔다.

hashlib를 통해 입력받은 비밀번호를 hash로 만들어 저장한다. 나중에 확인할때도 같은 방식의 hash를 하기때문에 같은 비밀번호라면 같은 hash가 생성된다. 이때문에 단방향 hash를 통해 로그인을 할수 있게 된다. 어려운 개념은 아니다.
또한 단순히 user collection 에 insert_one을 하는 것 만으로 별다른 코드 필요없이 알아서 생성된다.
하나 더 남기자면, url for과 rendertemplate의 차이에 대해 말해보고자 한다.단순히 login.html로 이동시킨다면, 로그인 정보를 입력하고 post했을때 아직 백엔드에서는 register에 남아있게 되어 오류가 나게 된다. url for을 사용한다면 get method로 넘겨줄 수 있게 되므로 주의해서 사용할것.
'프로젝트 > hyper-V 웹서비스' 카테고리의 다른 글
| [hyper-V 웹 서비스]6.결제 API 이해하기 (0) | 2022.03.17 |
|---|---|
| [hyper-V 웹 서비스]5.Hyper-v 자동생성 기능 구현 알고리즘 -2 (0) | 2022.03.17 |
| [hyper-V 웹서비스]4.Hyper-v 자동생성 기능 구현(매우중요) -1 (0) | 2022.03.11 |
| [hyper-V 웹서비스]3. flask로 MongoDB에서 가져온 정보 html에 넘겨주기 (0) | 2022.03.11 |
| [hyper-V 웹서비스]2. flask로 로그인 기능 구현 (0) | 2022.03.11 |